Making 2-way JT9 QSOs with a QRP Labs U3S
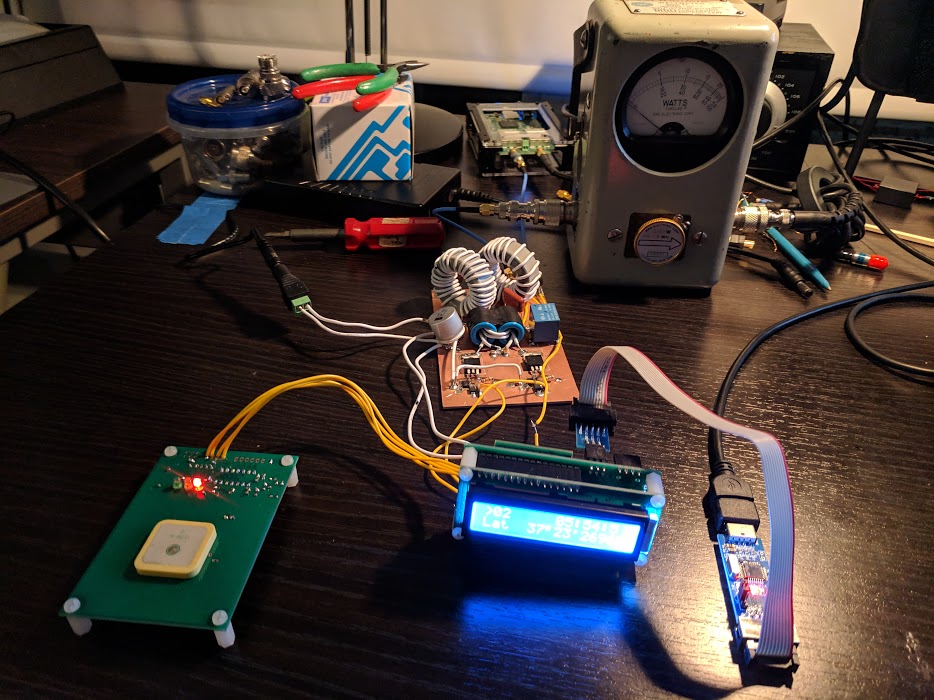
The heart of my apartment 630m “QRP” station is a U3S Transmitter from QRP Labs. This kit transmitter is designed to be used as a QRP/QRSS beacon, rather than making QSOs. It works well as a WSPR beacon, but there’s only so much fun to be had WSPRing.
The U3S has limited support for transmitting JT9 messages. The U3S can be configured with a 13-character “freeform” JT9 message, as well as a transmission schedule (how many minutes between “frames” and what minute of the hour to begin transmitting). Generally programming of the U3S is done awkwardly through various menus and a pair of momentary pushbuttons. This is fine for beacon use, but not practical for QSOs.
So to make QSO-mode operation possible, I’ve devised a hacky scheme to change the JT9 messages and transmit interval (selecting the “even” or “odd” minute for transmission) from my computer commandline. It has three parts.
- Reading and writing U3S EEPROM (which contains the U3S settings)
- Using the u3s-eeprom-tool to modify the EEPROM content with desired settings
- A simple shell script to automate the process
Reading and writing the U3S EEPROM with avrdude
The U3S has an optional 6-pin programming header which interfaces to a standard 6-pin Atmel ISP programmer. This header must be populated and a 100K pull-up installed at R3, per the U3S assembly instructions.
Programming is accomplished with avrdude, an open-source programming utility for Atmel AVR micros (such as the ATmega328P used in the U3S) and a supported programming cable. The USBasp style cable is available cheaply from various online sources. A 10-pin to 6-pin adapter is also helpful, depending on the pinout of the chosen programmer.
U3S configuration data is stored in the first 256 bytes of the EEPROM in the ATmega328P microcontroller. Using the open source avrdude software, the EEPROM may be read into an Intel Hex-format file as shown below.
$ avrdude -c usbasp -p m328p -U eeprom:r:u3s-ex.hex:i

avrdude: warning: cannot set sck period. please check for usbasp firmware update.
avrdude: AVR device initialized and ready to accept instructions

Reading | ################################################## | 100% 0.00s

avrdude: Device signature = 0x1e950f (probably m328p)
avrdude: reading eeprom memory:

Reading | ################################################## | 100% 0.78s

avrdude: writing output file "u3s-ex.hex"

avrdude: safemode: Fuses OK (E:FC, H:D1, L:F7)

avrdude done.  Thank you.
The content of the file u3s-ex.hex from the above example is shown below.
:20000000000000001ECD5B87434D3837574A004E3156460000000000000000000000EA036B
:20002000000000AA1E00010000008A000014344207000000000000000000000000000000DC
:200040000000000000000000000000000000000000000000000000000000000000000000A0
:20006000000000000000000000000000000000000000000000000000000000000000000080
:20008000000000000000000000000000000000000000000000000000000000000000000060
:2000A00000000000000000000000600C9C01002D3101660000000000000004000000005E10
:2000C000D0B2C8000000000000000A000000282300005A0000000000000000000000000027
:2000E000000000000000000000000000000000000000000000000000000000000000000000
:200100000000000000000000000000000000000000000000000000000000000000000000DF
:200120000000000000000000000000000000000000000000000000000000000000000000BF
:2001400000000000000000000000000000000000000000000000000000000000000000009F
:2001600000000000000000000000000000000000000000000000000000000000000000007F
:2001800000000000000000000000000000000000000000000000000000000000000000005F
:2001A00000000000000000000000000000000000000000000000000000000000000000003F
:2001C00000000000000000000000000000000000000000000000000000000000000000001F
:2001E0000000000000000000000000000000000000000000000000000000000000000000FF
:200200000000000000000000000000000000000000000000000000000000000000000000DE
:200220000000000000000000000000000000000000000000000000000000000000000000BE
:2002400000000000000000000000000000000000000000000000000000000000000000009E
:2002600000000000000000000000000000000000000000000000000000000000000000007E
:2002800000000000000000000000000000000000000000000000000000000000000000005E
:2002A00000000000000000000000000000000000000000000000000000000000000000003E
:2002C00000000000000000000000000000000000000000000000000000000000000000001E
:2002E0000000000000000000000000000000000000000000000000000000000000000000FE
:200300000000000000000000000000000000000000000000000000000000000000000000DD
:200320000000000000000000000000000000000000000000000000000000000000000000BD
:2003400000000000000000000000000000000000000000000000000000000000000000009D
:2003600000000000000000000000000000000000000000000000000000000000000000007D
:2003800000000000000000000000000000000000000000000000000000000000000000005D
:2003A00000000000000000000000000000000000000000000000000000000000000000003D
:2003C00000000000000000000000000000000000000000000000000000000000000000001D
:2003E0000000000000000000000000000000000000000000000000000000000000000000FD
:00000001FF
Modifying the U3S EEPROM image
Once the EEPROM content of a working U3S has been downloaded as shown in the section above, it needs to be manipulated to enable a JT9 transmission. This can be done by manipulating the EEPROM image with the u3s-eeprom-tool developed by YO6SSW.
The show command can query the value of a particular parameter in the EEPROM image, as shown below.
$ ./u3s-eeprom-tool show u3s-ex.hex transmissions[0]
{
    "aux": 0,
    "band": 0,
    "enabled": true,
    "frequency": 475700,
    "mode": "WSPR",
    "powerOrMessageIndex": 20
}

$ ./u3s-eeprom-tool show u3s-ex.hex frame
{
    "frame": 10,
    "start": 2
}

$ ./u3s-eeprom-tool show u3s-ex.hex message
message="Z"
The edit command can be used to specify a new value for a paramter.
$ ./u3s-eeprom-tool edit u3s-ex.hex message "HELLO"
Set key message to HELLO for file u3s-ex.hex

$ ./u3s-eeprom-tool show u3s-ex.hex message
message="HELLO"
Once suitably modified, the resulting image can be written back to the U3S with avrdude.
Scripting it up!
The script below ties it all together. It takes two arguments on the commandline - either a 0 or 1 as the first argument, to specify even or odd minute TX, and a string specifying an up-to-13 character message. Transmission slot 0 is modified to carry this message, and the resulting image is programmed into the U3S. Note, the resulting hex file is truncated before programming to save time. It takes 11 seconds to program a full 1024 byte image, so reducing the size allows a faster turn-around time to load a new message.
#!/bin/sh

# make a copy of an existing "base" image
cp u3s.hex jt9-tmp.hex

# modify the transmission, message and frame fields
./u3s-eeprom-tool edit jt9-tmp.hex transmissions[0].mode "JT91"
./u3s-eeprom-tool edit jt9-tmp.hex transmissions[0].enabled true
./u3s-eeprom-tool edit jt9-tmp.hex transmissions[0].frequency 475200
./u3s-eeprom-tool edit jt9-tmp.hex transmissions[0].powerOrMessageIndex 0
./u3s-eeprom-tool edit jt9-tmp.hex message "$2"
./u3s-eeprom-tool edit jt9-tmp.hex frame.frame 2
./u3s-eeprom-tool edit jt9-tmp.hex frame.start $1

# cut off the last 768 bytes of the image (unused), to save programming time
cat jt9-tmp.hex | grep -v :200[123] > jt9-tmp-trunc.hex

# program it! (and reboot the U3S)
avrdude -c usbasp -p m328p -U eeprom:w:jt9-tmp-trunc.hex
The script above is pretty hacky/fragile, but does work. It could be made more robust with some effort. Perhaps it could be written as a DOS batch file to be used in Windows systems.
Below is a sample invocation of the script that transmits a CQ message on the odd minute.
$ ./jt9-ctl.sh 1 "CQ N1VF CM87"
Set key transmissions[0].mode to JT91 for file jt9-tmp.hex
Set key transmissions[0].enabled to true for file jt9-tmp.hex
Set key transmissions[0].frequency to 475200 for file jt9-tmp.hex
Set key transmissions[0].powerOrMessageIndex to 0 for file jt9-tmp.hex
Set key message to CQ N1VF CM87 for file jt9-tmp.hex
Set key frame.frame to 2 for file jt9-tmp.hex
Set key frame.start to 1 for file jt9-tmp.hex

avrdude: warning: cannot set sck period. please check for usbasp firmware update.
avrdude: AVR device initialized and ready to accept instructions

Reading | ################################################## | 100% 0.00s

avrdude: Device signature = 0x1e950f (probably m328p)
avrdude: reading input file "jt9-tmp-trunc.hex"
avrdude: input file jt9-tmp-trunc.hex auto detected as Intel Hex
avrdude: writing eeprom (256 bytes):

Writing | ################################################## | 100% 2.71s

avrdude: 256 bytes of eeprom written
avrdude: verifying eeprom memory against jt9-tmp-trunc.hex:
avrdude: load data eeprom data from input file jt9-tmp-trunc.hex:
avrdude: input file jt9-tmp-trunc.hex auto detected as Intel Hex
avrdude: input file jt9-tmp-trunc.hex contains 256 bytes
avrdude: reading on-chip eeprom data:

Reading | ################################################## | 100% 0.19s

avrdude: verifying ...
avrdude: 256 bytes of eeprom verified

avrdude: safemode: Fuses OK (E:FC, H:D1, L:F7)

avrdude done.  Thank you.
Usage Notes
- Even with the truncated EEPROM image, programming and rebooting the U3S takes around 5 seconds. This means you need to be very quick on the trigger responding to a received JT9 message to avoid missing the next transmit cycle.
- Unlike WSJT-X software, when you enable transmission after the beginning of a transmit cycle, no transmission takes place until the next eligible TX cycle (if you’re slow loading the next message, you may miss an entire TX cycle).
- The U3S only supports 13-character “freeform” text messages. Two callsigns and “RRR” or “R-XX” rarely fit in 13 characters (the more compact encoding used by WSJT-X software for these standard messages is not implemented on the U3S). This requires some improvization/creativity in the messages to get the QSO done.
- Stations worked as of 11/6/2018: W7IUV, VE7VV, W0YSE, KL7L, KM5SW